Mold Remediation vs Mold Repair: What You Need to Know
Finding mold in your home is stressful, but discovering mold is only the beginning of the process. Many homeowners in Salem are surprised to learn that mold remediation alone does not restore a home to a livable condition. After mold is removed, damaged materials often still need to be repaired or rebuilt. Understanding the difference between mold remediation and mold repair helps homeowners make informed decisions, avoid delays, and protect their insurance claims.
This guide explains what mold remediation actually does, what mold repair involves, and why both steps are often required after mold is discovered.
Why Mold Detection Is Only the First Step
Mold detection confirms that a problem exists and identifies where mold is present. Detection does not remove mold or fix the conditions that caused it to grow. After mold is detected, homeowners must decide how the contamination will be removed and how the damaged areas will be repaired.
Mold detection alone does not:
- Remove contaminated materials
- Address moisture problems
- Restore walls, floors, or framing
- Return the home to its pre-loss condition
This is where remediation and repair become necessary.
What Mold Remediation Does and Does Not Do
Mold remediation focuses on safely removing mold-contaminated materials and preventing spores from spreading to unaffected areas. Remediation is a controlled removal process designed to reduce health risks and stabilize indoor air quality.
Mold remediation typically includes:
- Containment of affected areas
- Air filtration and negative pressure
- Removal of mold-contaminated drywall, insulation, or flooring
- Cleaning and treating remaining surfaces
However, mold remediation does not include rebuilding. Once contaminated materials are removed, walls may be open, floors may be missing, and framing may be exposed. Remediation prepares the home for repair but does not complete it.
What Mold Repair Means For a Home
Mold repair is the construction phase that follows remediation. This step restores the structure and finishes that were removed or damaged during mold removal.
Mold repair may involve:
- Replacing drywall and insulation
- Repairing or reinforcing framing
- Replacing subfloors or flooring
- Repairing cabinets or built-ins
- Restoring bathrooms, kitchens, or basements
- Painting and finish carpentry
Without proper repair, the home remains incomplete and vulnerable to future moisture problems.
Mold Mitigation vs Mold Remediation vs Mold Repair
These terms are often used interchangeably, but they describe different parts of the process.
Mold mitigation focuses on:
- Stopping moisture intrusion
- Preventing mold growth from spreading
- Addressing leaks, ventilation, or drainage issues
Mold remediation focuses on:
- Removing existing mold
- Controlling airborne spores
- Cleaning contaminated surfaces
Mold repair focuses on:
- Rebuilding damaged materials
- Restoring structural integrity
- Returning the home to livable condition
All three steps are often required for a lasting solution.
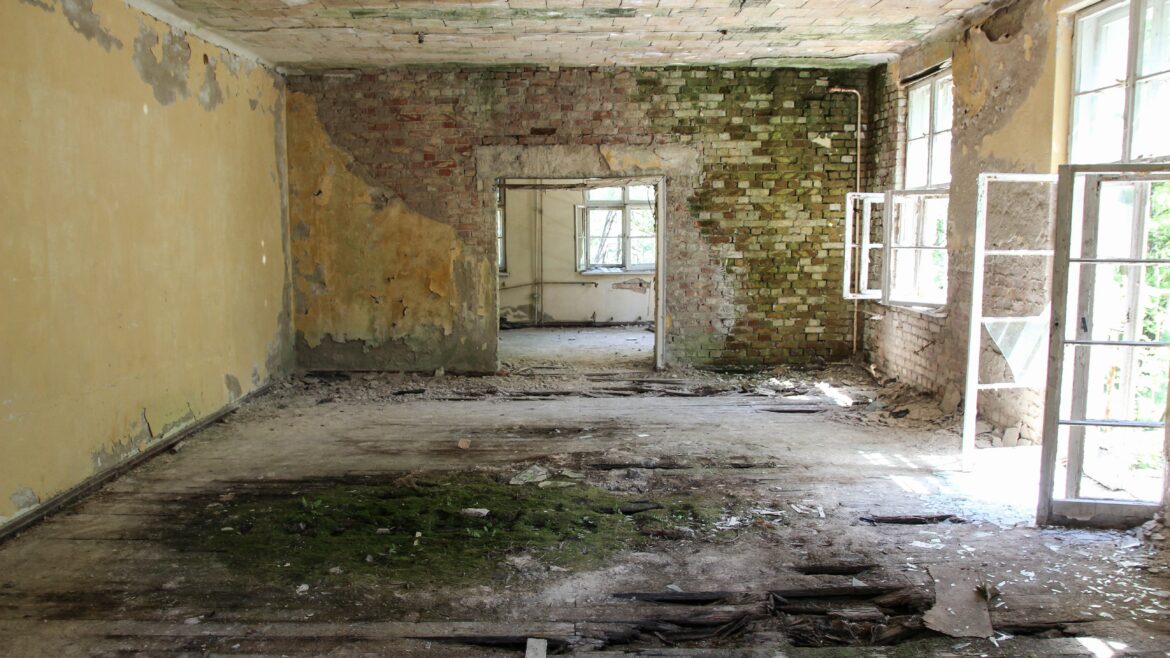
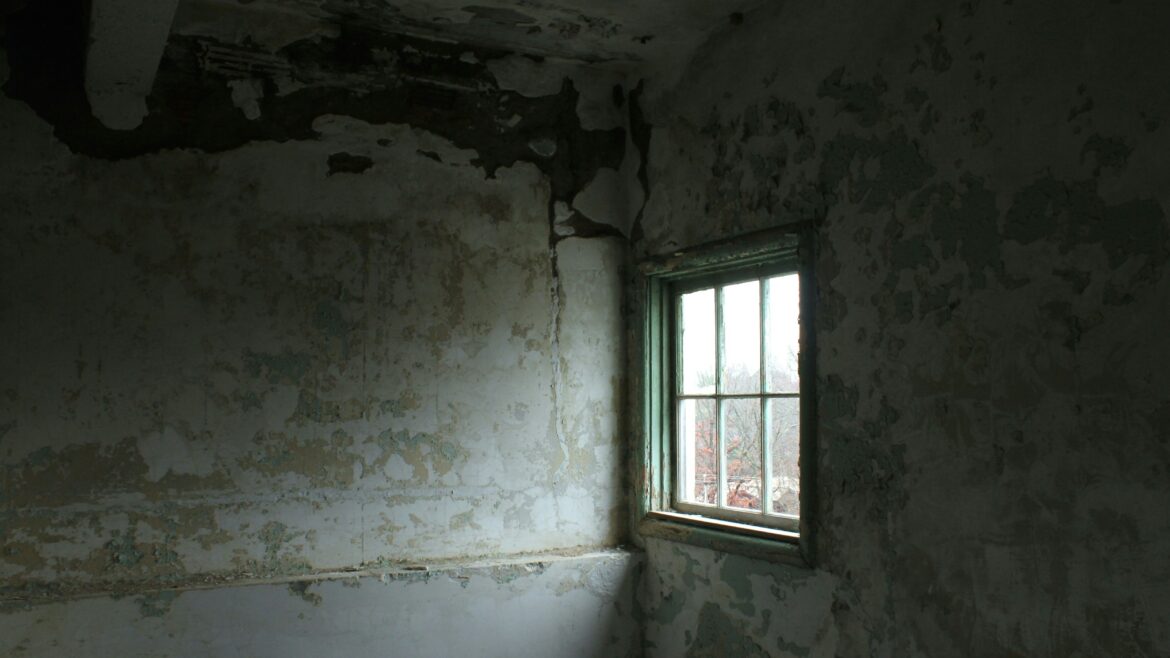
When Mold Becomes a Structural Issue
Mold becomes a construction problem when moisture exposure weakens building materials. Over time, mold can compromise the integrity of walls, floors, and framing.
Structural issues caused by mold may include:
- Soft or rotting wood framing
- Warped subfloors
- Deteriorated drywall
- Insulation breakdown
- Persistent moisture trapped inside wall cavities
When these conditions exist, mold repair requires licensed construction work, not just remediation services.
The Mold Remediation and Repair Process After Mold Is Found
This process assumes mold has already been detected and confirmed.
Step 1: Confirm Scope and Moisture Source
Inspection results are reviewed to determine how far mold has spread and what caused the moisture problem. Identifying the source is critical to preventing recurrence.
Step 2: Mold Remediation and Containment
Contaminated materials are removed under controlled conditions. Air filtration and containment prevent spores from spreading to unaffected areas.
Step 3: Structural Drying and Moisture Correction
Drying equipment and moisture controls are used to stabilize the structure. Leaks, ventilation issues, or drainage problems are addressed.
Step 4: Mold Repair and Reconstruction
Construction begins to restore the home. This may include framing repairs, drywall replacement, flooring installation, and finish work.
This step is often where homeowners experience delays if remediation and repair are handled by separate companies.
Does Insurance Cover Mold Remediation and Mold Repair in Oregon
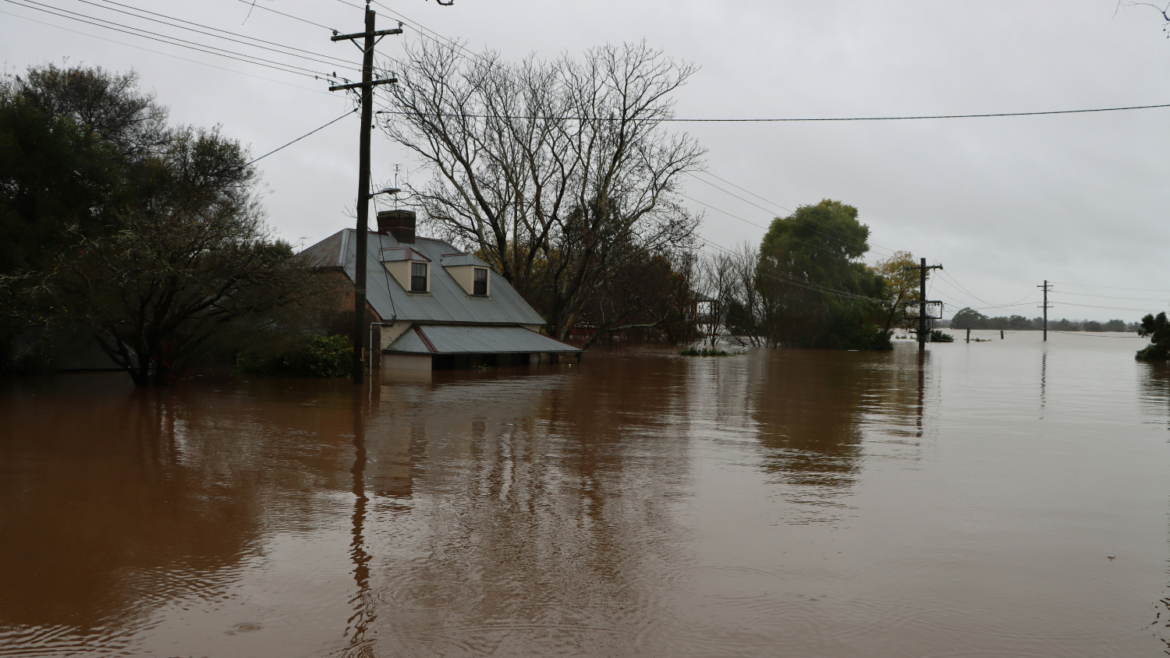
Insurance coverage for mold varies widely. In Oregon, mold is often covered when it results from a sudden and accidental water loss, such as a burst pipe or appliance failure.
Insurance may cover:
- Mold remediation related to a covered loss
- Removal of contaminated materials
- Repairs are necessary to restore the structure
Insurance may deny coverage when mold results from long-term moisture, neglect, or maintenance issues. Proper documentation and scoping are essential for approval.
Why Mold Remediation Alone Is Often Not Enough
Many remediation companies stop once mold is removed, leaving homeowners with exposed framing and unfinished interiors. Homeowners must then find a contractor to complete repairs, which can delay reconstruction and complicate insurance claims.
Working with a contractor who understands both remediation coordination and structural repair helps:
- Reduce project delays
- Prevent scope gaps
- Improve insurance communication
- Ensure repairs meet building codes
How Long Does Mold Remediation and Repair Take?
Timelines vary based on severity and scope.
Typical phases include:
- Remediation and containment: several days
- Drying and moisture correction: one to two weeks
- Structural repair and reconstruction: several weeks
Projects involving framing or multiple rooms may take longer, especially when insurance approvals are required.
Frequently Asked Questions: Salem Mold Remediation Companies
What is the difference between mold remediation and mold repair?
Mold remediation focuses on removing the mold and contaminated air, while mold repair involves rebuilding mold-damaged materials after remediation is complete. Many homes and businesses require both steps to rid themselves of mold and restore affected areas entirely.
Is mold mitigation the same as mold remediation?
No. Mold mitigation focuses on stopping moisture and conditions where mold can grow, while professional mold remediation removes mold infestations and mold-infested materials from the home or business.
Can mold cause structural damage?
Yes. Prolonged mold growth caused by water damage can weaken porous materials like drywall, wood framing, and subfloors, leading to mold-damaged structural components if left untreated.
Does insurance cover mold repair after remediation?
Insurance may cover mold cleanup and repair when mold results from a sudden water damage event, but coverage is often limited for long-term mold infestations. Proper documentation during professional mold remediation is critical for claim approval.
Why do some homes need reconstruction after mold removal?
Reconstruction is needed when removing the mold requires tearing out mold-infested materials such as drywall, insulation, or flooring. Because mold and mold spores penetrate porous materials, rebuilding is often the only way to fully eliminate health risks and prevent allergic reactions.
Repair and Mold Remediation in Salem, Oregon
Mold problems, such as black mold, do not end with removal. Proper repair is what restores safety, functionality, and value to the home. Liberty Homes Construction works with Salem homeowners to coordinate mold remediation and complete the structural repairs needed to fully restore the property after mold is found.